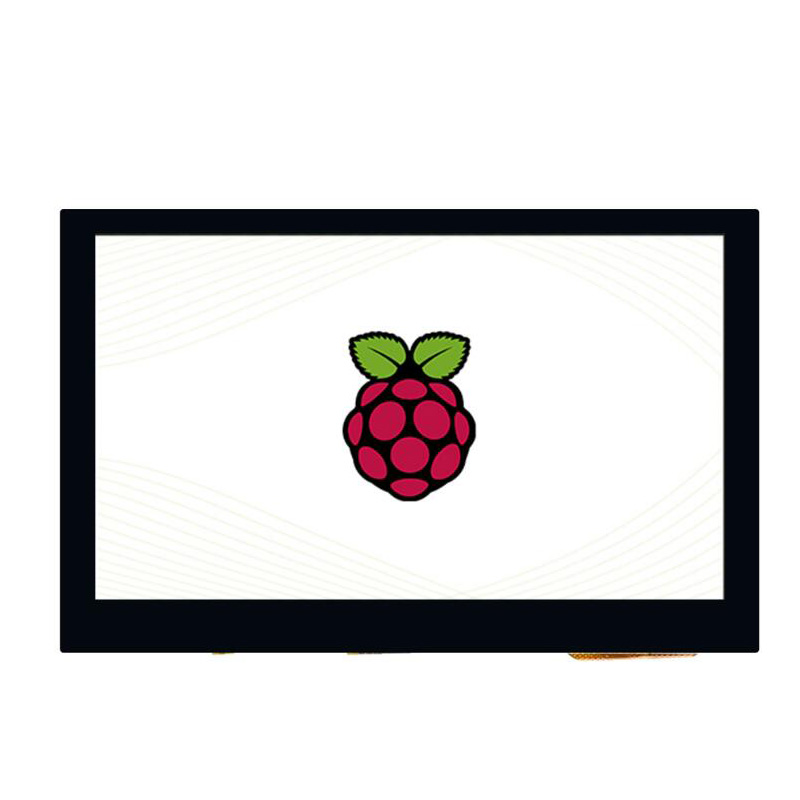
树莓派4.3寸DSI显示屏使用教程
产品特点
- 4.3寸IPS屏,硬件分辨率为800×480
- 电容式5点触摸控制
- 支持Pi 4B/3B+/3A+/3B/2B/B+/A+,CM3/3+须另购转接板
- 直接通过Raspberry Pi的DSI接口驱动LCD,刷新率可达60Hz
- 配合Raspberry Pi使用时,支持Raspbian/Ubuntu/ Kali/WIN10 IoT,免驱
搭配树莓派 如何使用
硬件连接
- 使用FFC线,将4.3inch DSI LCD连接到Raspberry Pi的DSI接口。
- 为了方便使用,可以把Raspberry Pi通过螺丝固定的4.3inch DSI LCD的背面,并组装上铜柱。
如下图所示:

软件设置
- 下载树莓派镜像(Raspbian、Ubuntu、Kali、WIN10 IoT),最新镜像可以从此链接获取:https://www.raspberrypi.org/downloads/
- 将压缩文件下载到PC上,并解压得到.img文件。
- TF卡连接到PC,使用SDFormatter.exe软件格式化TF卡。
- 打开Win32DiskImager.exe软件,选择第2步准备的系统镜像,点击write烧写系统镜像。
- 烧写完成后,保存并安全弹出TF卡。并将TF卡插入树莓派。
- 给树莓派上电,正常等待几秒后可正常显示。系统启动后可以正常触摸。
旋转
在config.txt文件最后,加入以下对应旋转角度的命令(config文件位于TF卡根目录,也可以通过命令访问:sudo nano /boot/config.txt):
- #旋转90度
- display_lcd_rotate=1
- dtoverlay=rpi-ft5406,touchscreen-swapped-x-y=1,touchscreen-inverted-x=1
- #旋转180度
- display_lcd_rotate=2
- dtoverlay=rpi-ft5406,touchscreen-inverted-x=1,touchscreen-inverted-y=1
- #旋转270度
- display_lcd_rotate=3
- dtoverlay=rpi-ft5406,touchscreen-swapped-x-y=1,touchscreen-inverted-y=1
注:如果是Raspberry Pi 4,还需要把dtoverlay=vc4-fkms-V3D注释掉。
保存后重启树莓派即可
- sudo reboot
安装虚拟键盘
- sudo apt install matchbox-keyboard
安装完成后,点击Accessories > Keyboard打开。
价格:
¥165
型号:
4.3inch-DSI-LCD
制造商:
斑梨电子
SKU:
0105401


